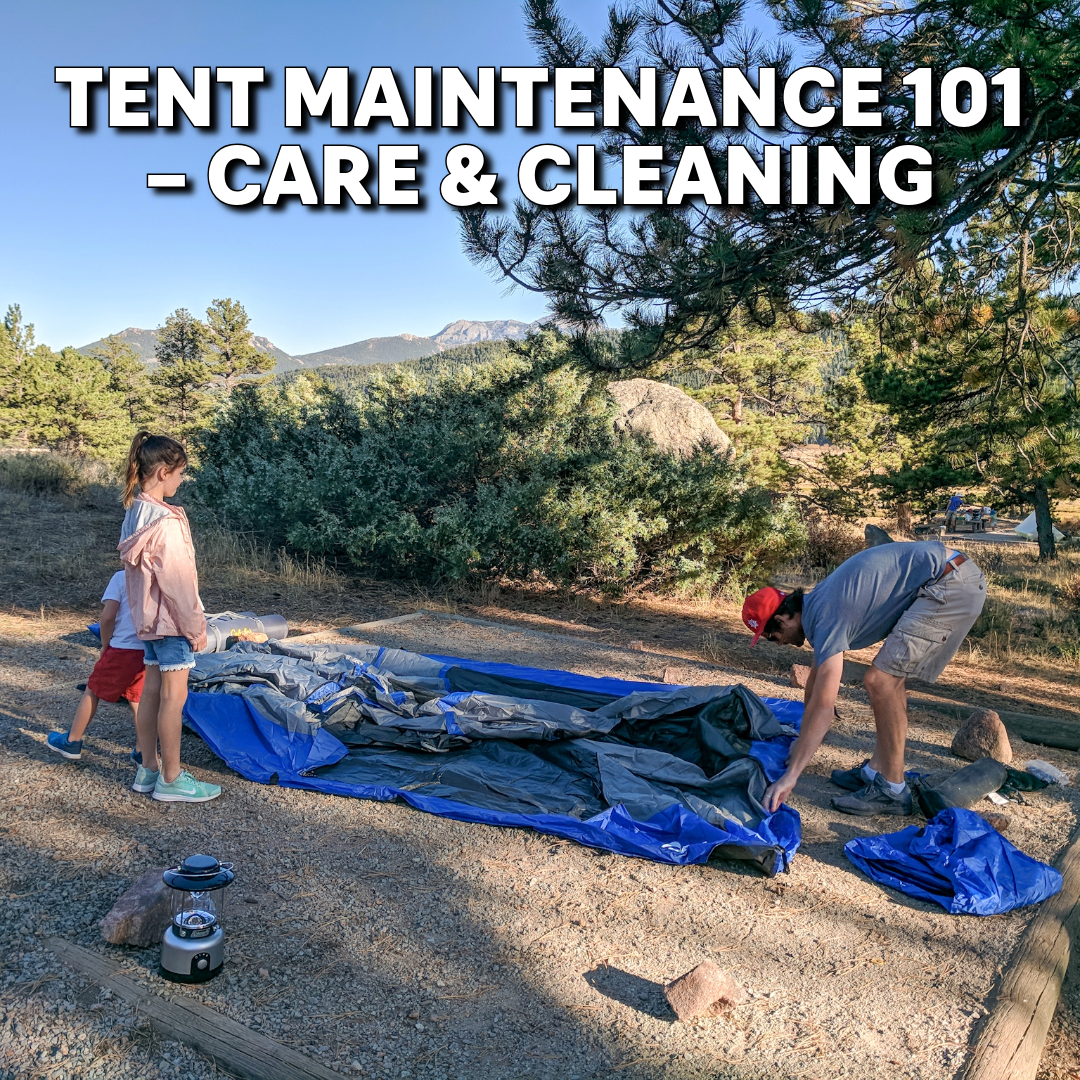
Tent Maintenance 101 – Care & Cleaning

It’s that time of year! Spring Cleaning has quickly reared its head and it’s time to start getting out your long-rested camping gear. Although digging through that stuffy garage can be a daunting task – it’s a necessary evil to start up your camping season. From waterproofing to cleaning and setup, tent maintenance can seem like a serious tack in your side. However, if you set the stage for proper care right from the start, habits start to engrain, and you can get a lot more life out of your tents! Here are our top tips to maintain your tent for years to come.

Start Fresh
No matter how well-built or premium your tent is, everything starts to break down at one point or another. This doesn’t mean the end of your tent though – far from it! We recommend starting every Spring with a tent maintenance checklist. This should include revamping your tent’s seams, urethane coating, and DWR (durable water repellent) to ensure you stay your driest. There’s no worse feeling than being out in the woods and noticing a leak start to form when you’re miles away from civilization.
Maintaining Tent Seams
There are a couple ways you can tackle flaking seams. The two most common options are going to be Seam Sealing and Seam Taping. The option that will work best for you heavily depends on your tent fabric. At Napier, all our Truck & SUV Tents are built using heavy duty 68D or 75D fabrics (depending on if you have a Backroadz or Sportz model). Anything 68D or higher is recommended to use seam tape, since heavier fabrics adhere to tape easier. Seam tape application is going to vary brand-to-brand, so make sure you follow along with the recommended instructions for your chosen brand!
Urethane Coating
If you notice that the exterior of your tent or rainfly is beginning to flake, it’s time to refresh the urethane coating. You can start by laying out the rainfly and tent skin flat and using the abrasive side of a rubbing alcohol-soaked sponge to remove any loose flaking. Ensure you purchase a sealant that is compatible with polyurethane tents, since some generic compounds may actually cause damage. Apply a thin layer across your tent and rainfly, making sure to any included instructions. Give the sealant 24 hours to dry and viola!

DWR
This is the easiest step in tent maintenance. All you will need is a water repellent spray of your choosing, some water, and a cloth. Once you have chosen a water repellent spray – simply coat the exterior of your rainfly with a spray of clean water, then spray the repellent evenly. Give it a few minutes, then wipe with a damp cloth and let it dry over 12-24 hours or until completely dry.
Treat it With Care
If you’ve followed along with our pre-season tent maintenance suggestions, you’re on the right path towards getting some serious miles out of your tent. However, just because you take the proper precautions doesn’t mean your tent is invincible. Following proper care during setup, use, and takedown is going to really make a difference in the lifespan of your tent. Below are some of our top tips to follow for our Truck & SUV Tents:
| Truck Tent | SUV Tent |
| – Ensure your truck bed is free of debris, sharp tools, dirt, or anything that could cause friction against the tent floor – Ensure you are setting up your vestibule pole outside the tailgate wires – Leave the truck straps slightly too loose during setup to ensure the tent skin has some flexibility while inserting poles; then tighten once the tent is raised – Always watch your pet while inside the tent and have a bed or towel for them to lay on to avoid claw punctures – Setup in a shaded area to avoid constant direct sunlight on the tent – When removing poles, push through the sleeve instead of pulling – Start in the middle when breaking down poles to ensure even tension – Shake your tent out/clean after your trip – Setup the tent at home and let thoroughly dry before storing – Roll your tent tightly and store inside the carrying case in a cool, dry place |
– Ensure you are setting up on flat ground that has been clear of any debris that could cause punctures – Always watch your pet while inside the tent and have a bed or towel for them to lay on to avoid claw punctures – Setup in a shaded area to avoid constant direct sunlight on the tent – When removing poles, push through the sleeve instead of pulling – Start in the middle when breaking down poles to ensure even tension – Shake your tent out/clean after your trip – Setup the tent at home and let thoroughly dry before storing – Roll your tent tightly and store inside the carrying case in a cool, dry place |
Cleaning Your Tent
If you’ve accumulated any sand, tree sap, dust, significant amounts of dirt on your tent, it is a good idea to give it a proper cleaning before storing. If you don’t, these materials can cause friction and result in premature flaking/tears in the fabric that can hinder the longevity of your tent. We never suggest running your Napier tent through a machine wash, as the heat and spin cycle can cause irreversible damage. Instead, use a soft-touch sponge with cool, clean water and a non-detergent soap. Try to steer clear of generic household cleaners, as they often have harsh detergents which are not designed for tents.
Summary
Although we take pride in the quality of our tents, it is inevitable that aging will occur. In order to keep you and your tent in good shape, make sure you aren’t neglecting these essential tent care steps!


